reality check using CAD data.
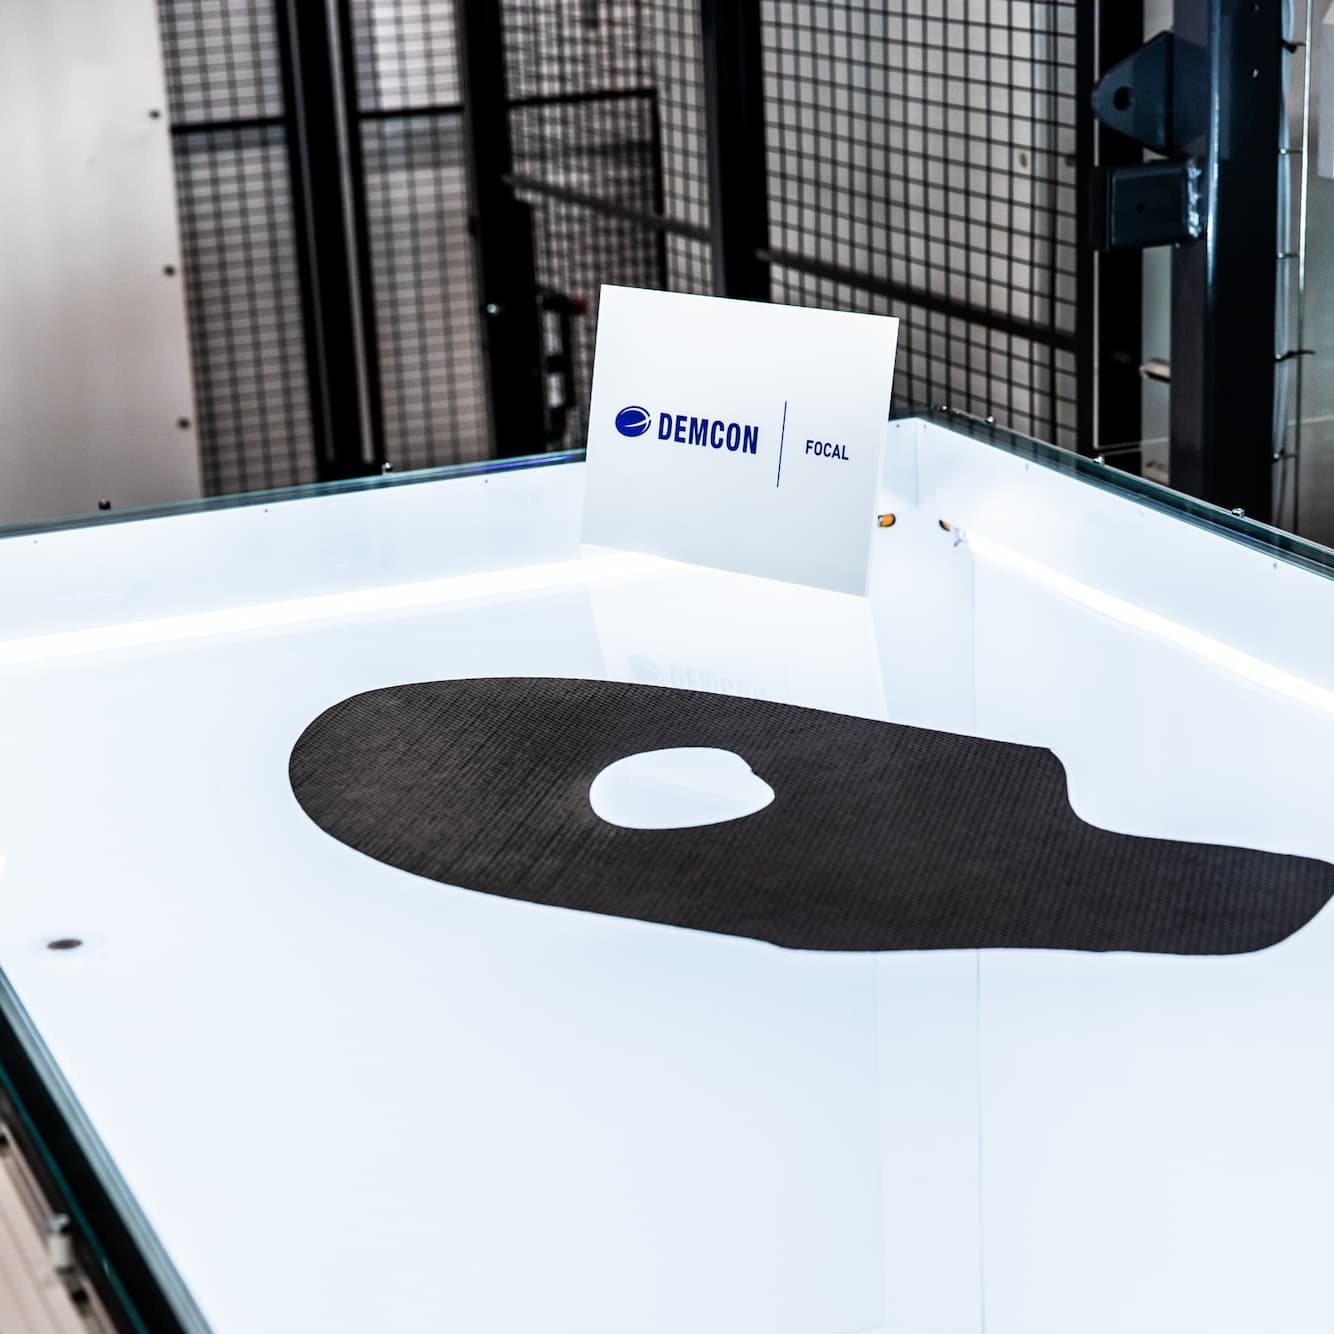
Airborne Advanced Composites develops automated solutions for composites manufacturing. Plies are cut from large sheets of composite material and assembled into a product according to a pre-defined layup. For accurate handling of plies, measurement of their position and rotation is required with 3σ tolerances as low as 0.5 mm and 0.01°, respectively. We developed a machine vision hardware and software for measuring ply coordinates and comparing actual ply contours with CAD data. This improves handling performance, whilst serving as quality control.

highlights
- improved handling performance
- quality control included
- 3σ handling tolerances of 0.5 mm and 0.01°
- short project lead time
cutting-edge vision.
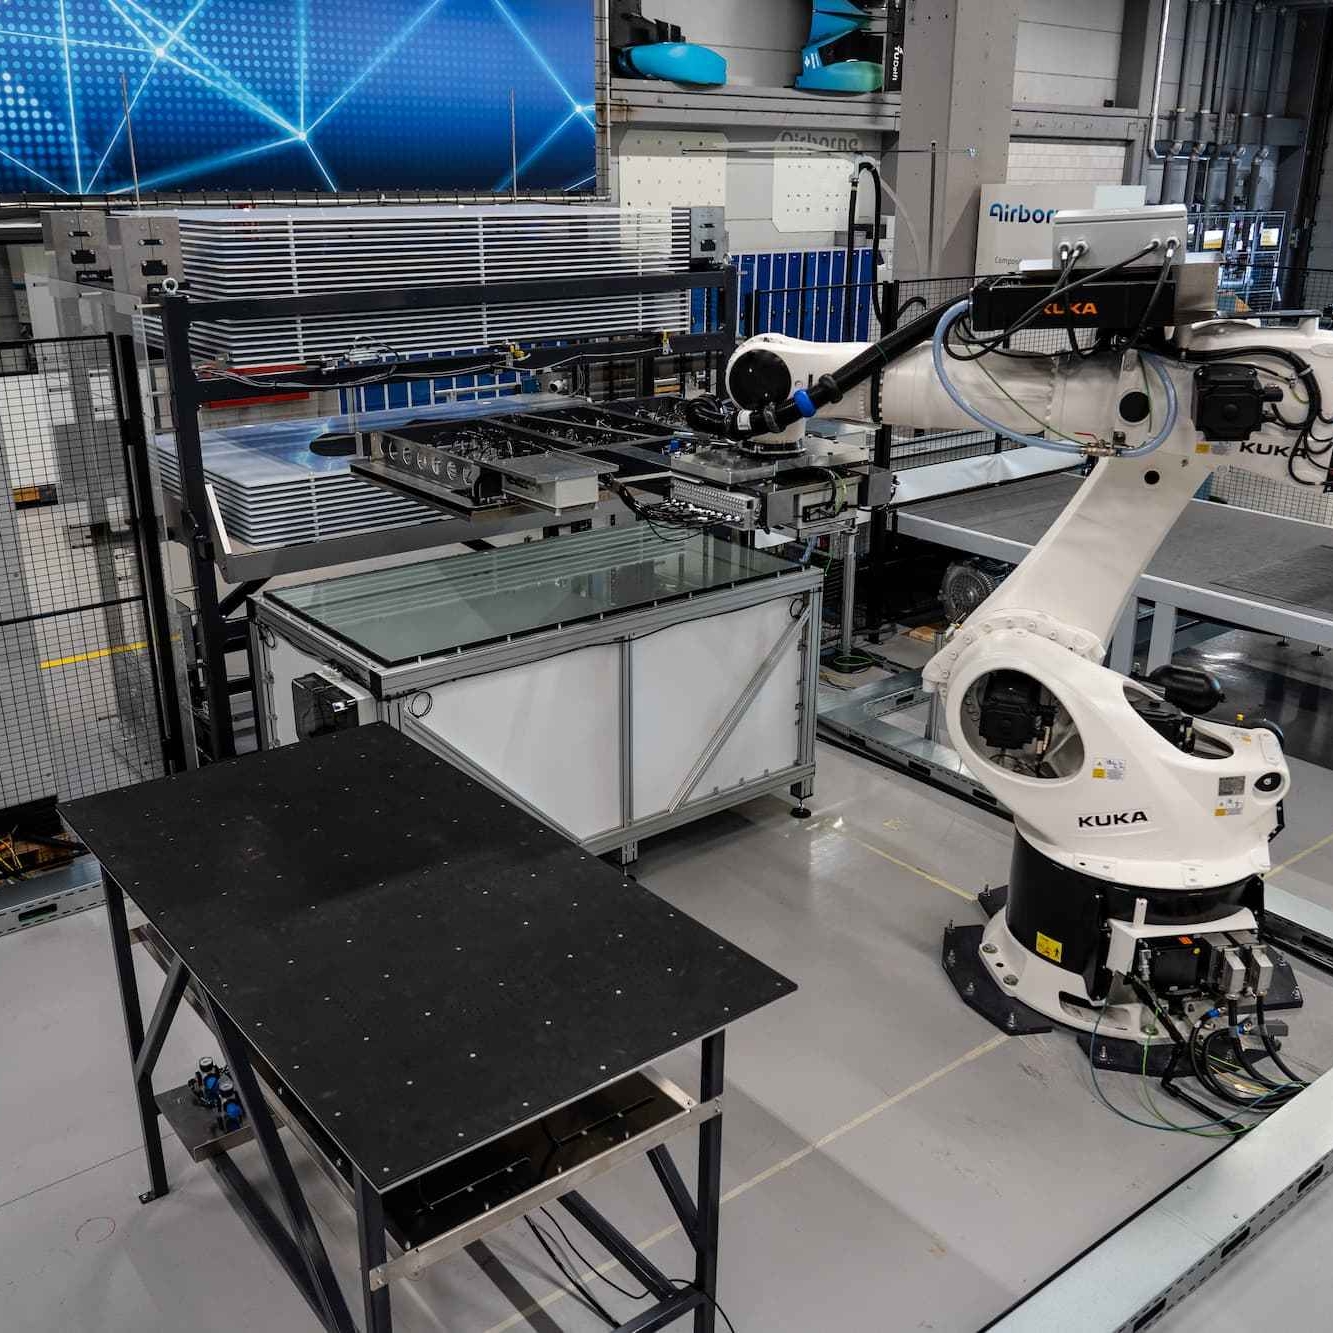
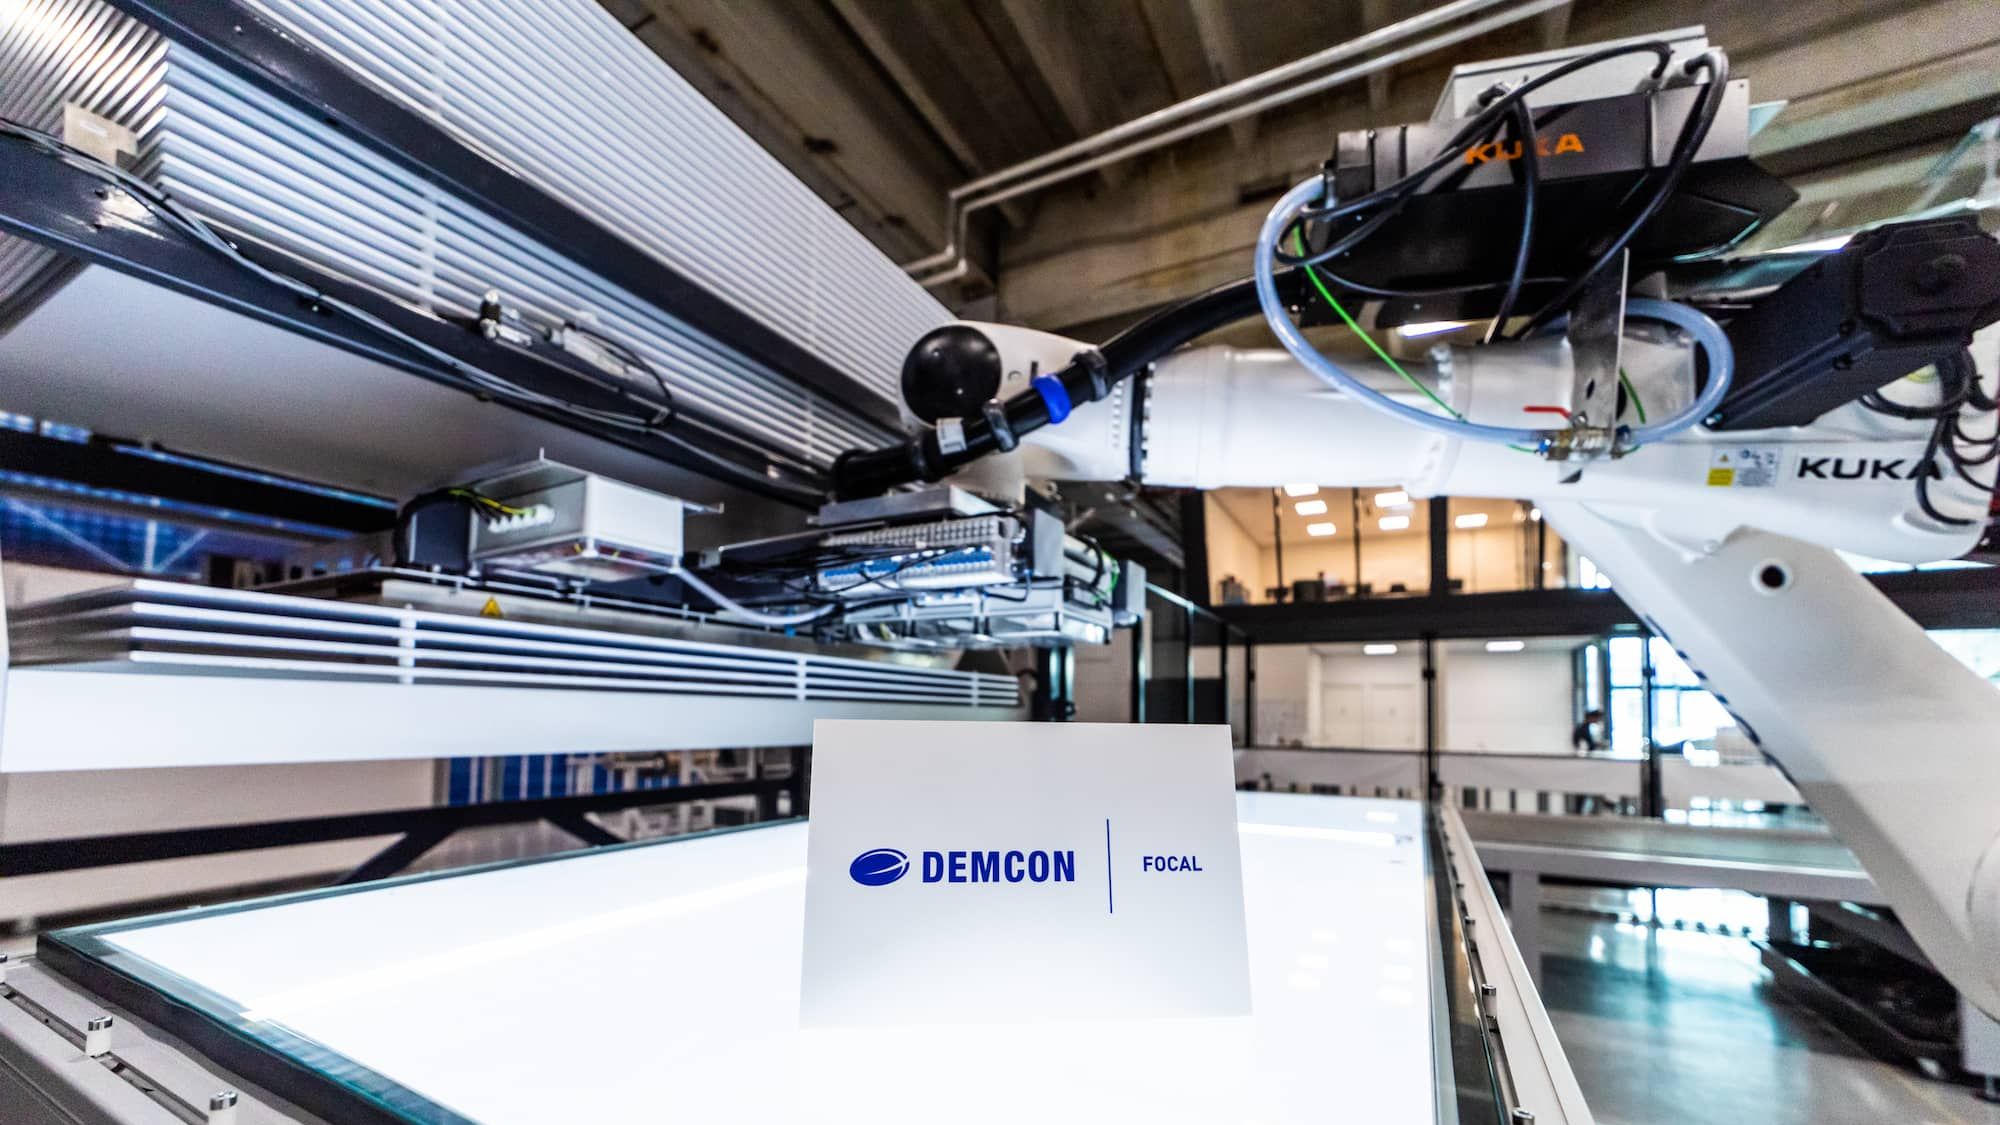
We constructed a 2m x 1m measurement table as a light box on which the plies are placed for measurement, with two cameras mounted in a dome below. For developing the machine vision software, we drew on our industrial inspection track record. This covers materials comparable to composites that are difficult to capture by vision from an optical point of view, because they are black, shiny, have a lacquer coating and some plies are obviously white. On top of that, the shiny metal suction cups on the robot end-effector will also be captured in the images, adding to the vision challenge.

“we have enabled the next step in production precision.”
In a very short time, ten weeks from project start, we managed to design, build, and install a production-ready system. Especially given the global material and component shortages, I am proud of the speed and flexibility with which we achieved this. But what matters most is that Airborne was able to meet the required delivery time and quality standards of the end customer. Meanwhile, we have already delivered a second system, while we also transferred the IP, to enable our customer to build new systems themselves, enabling higher automated production precision for even more Airborne customers.


