six sigma inspection.
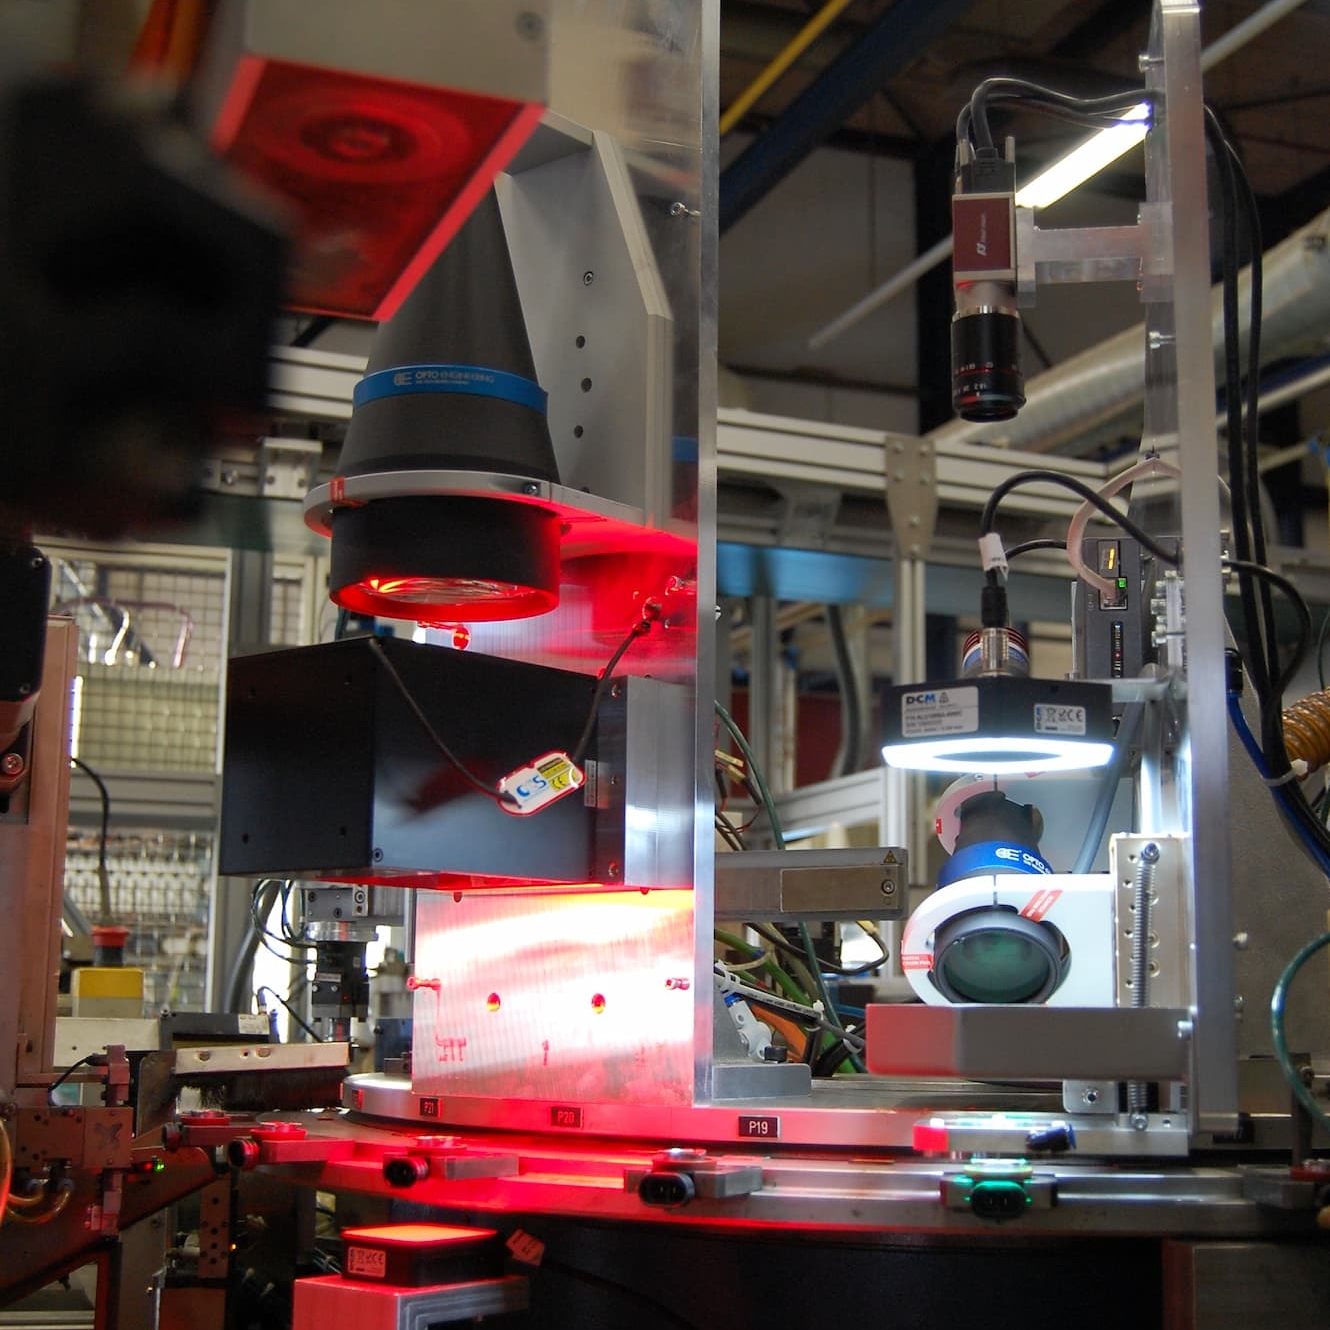
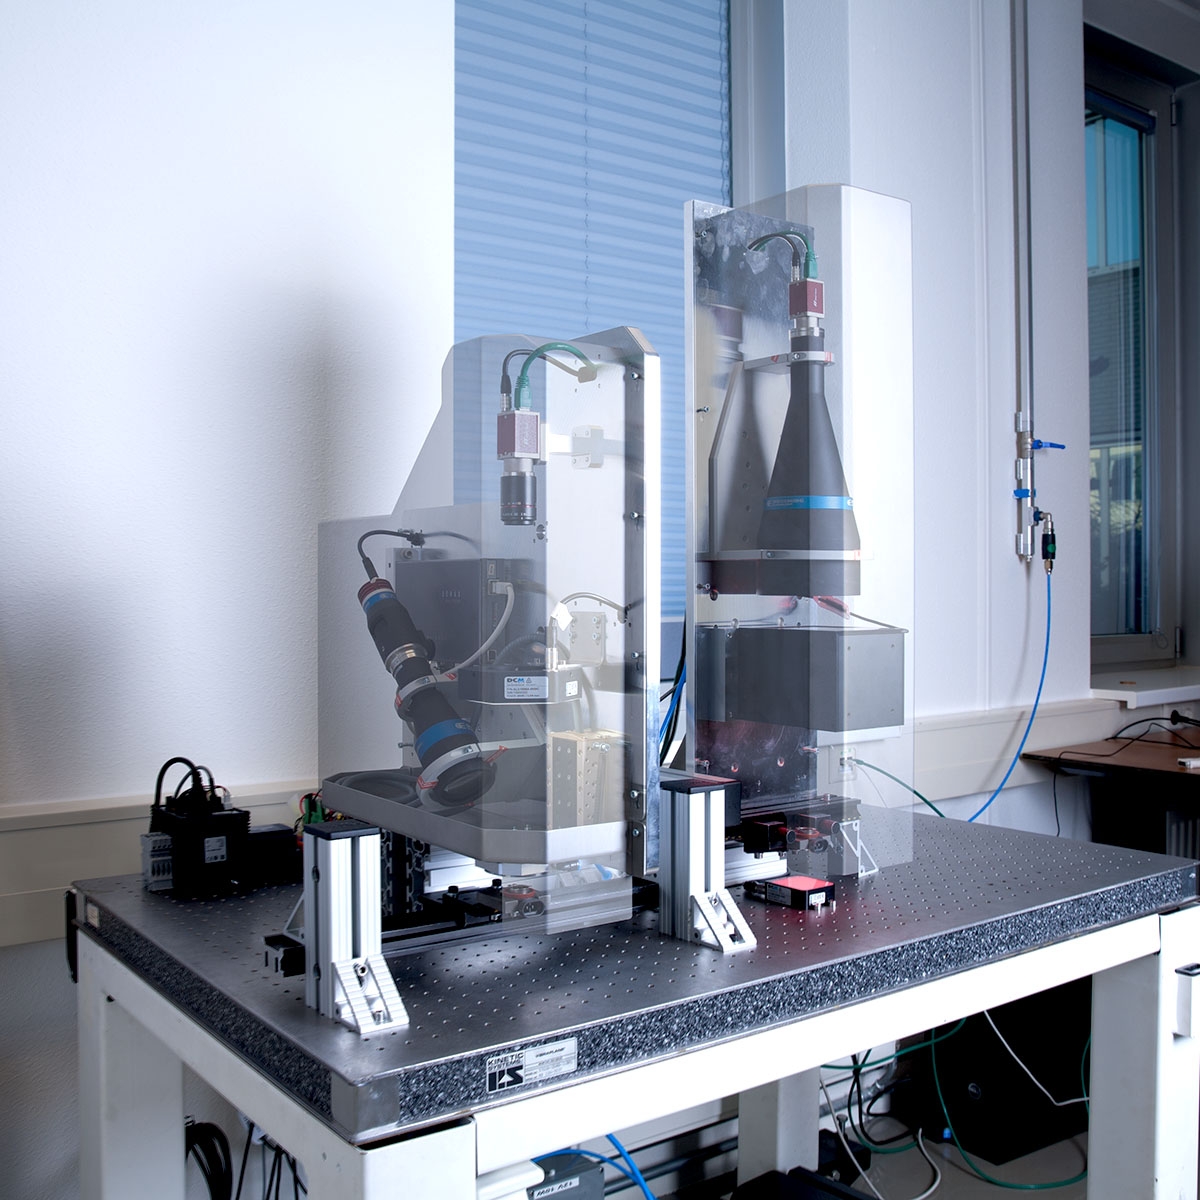
The production line produces 75,000 connectors every 24 hours. The system positions a metal spring and a rubber ring on a molded part with cast contact pins and a metal ring with contact wings. The connector must provide excellent electrical contact and must not show any contamination or defects. The existing quality assurance procedures – a vision system complemented by human inspection – were no longer sufficient. Our challenge was to fully automate the entire inspection process using a vision system that performs fourteen control measurements and generates fewer than thirty false positives per million (in accordance with six sigma).


synchronization of vision system with production line.
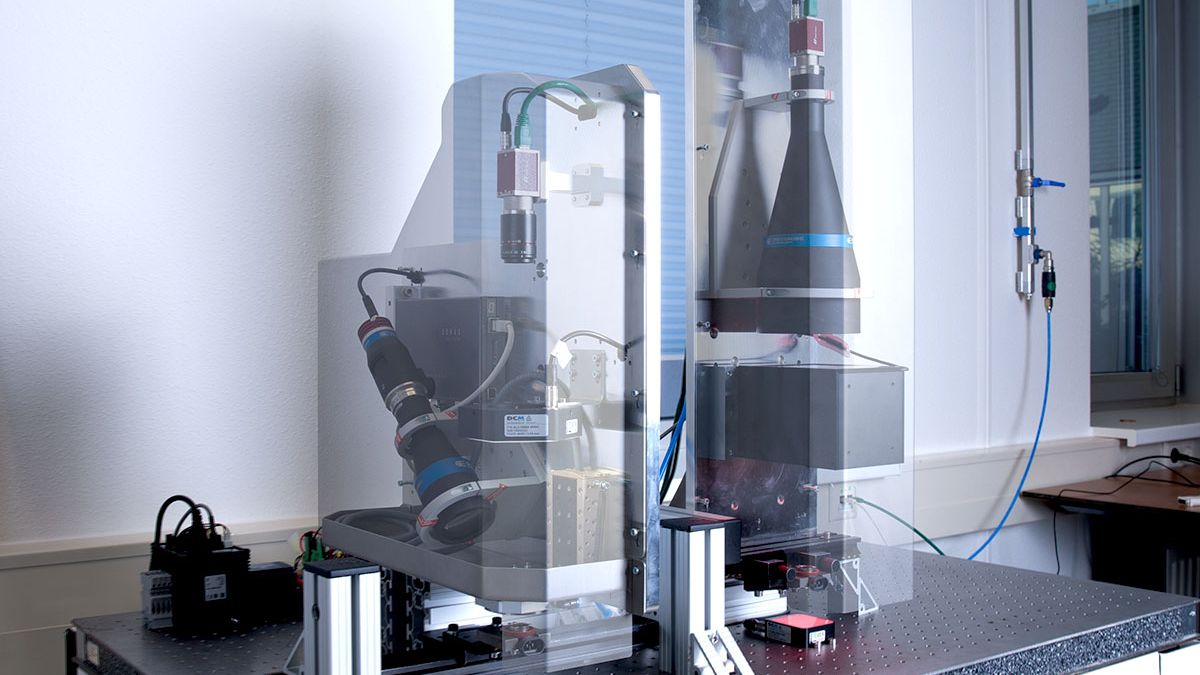
We first demonstrated the feasibility of a solution using 2D and 3D technologies. Next, we built a system primarily using standard components. We designed a mirror with mechanical suspension ourselves. The biggest challenge proved to be inherent in the development of software for controlling the system, for image processing and for the user interface, including the synchronization of the vision system with the production line. We developed a system for effectively coordinating communication between the industrial vision PC and the PLC for production control. The coordination with our client likewise was excellent.

’it all comes down to reliability.’
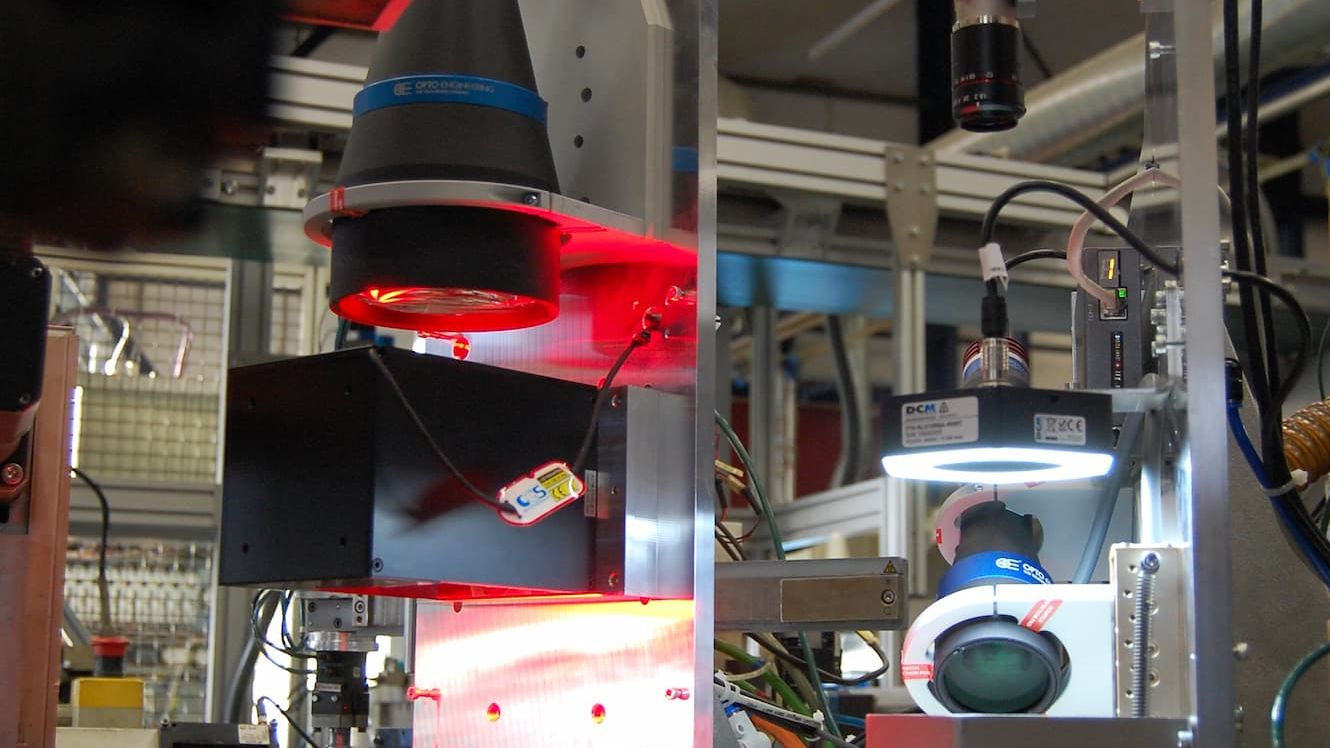
The production line produces a new connector every second. We managed to build a product inspection system capable of producing a complete picture in that short period of time, with all the necessary measurements and calculations. The project’s elapsed time was short; we managed to complete the system within six months with just three people working on it.


